
Modern Farmhouse Build: A Step-by-Step Planning Guide
You've saved the white siding, black windows and porch photos. You may even have a floor plan you love. Then a builder asks about soil conditions, utility distances and the roof structure, and the project suddenly feels less like choosing a home and more like coordinating a small business.
A successful modern farmhouse build starts with those less photogenic decisions. The lot, climate hazards, building envelope and construction sequence determine whether the finished house is comfortable and manageable to own. Get those right early, and you can make the aesthetic choices without paying to undo work.
Build Phases and How Long Each One Takes
Modern farmhouse build phases and typical durations
Phase | Typical duration | Key decision | Who leads |
|---|---|---|---|
Site selection and due diligence | Allow for survey, soil testing and utility responses before purchase | Lot, orientation, utilities, setbacks | Buyer and surveyor |
Design and floor plan | Schedule through coordinated drawing approval | Roof form, porch depth, open plan, bedroom count | Architect or plan designer |
Engineering and energy review | Confirm after design inputs are complete | Envelope assumptions, HVAC load, foundation type | Engineer and energy rater |
Budget and bids | Allow contractors to price the same completed scope | Scope, allowances, contingency | Builder and lender |
Permits and approvals | Use the building department's current review estimate | Local code compliance, site plan, inspection stages | Builder and building department |
Site work and foundation | Schedule from soil conditions, access and inspection availability | Grading, slab or crawl space, utility connections | Excavator and foundation contractor |
Framing to dry-in | Confirm against roof complexity and window delivery | Roof and window installation, air barrier | Framing crew |
Mechanicals, finishes and final | Coordinate trade availability, testing and final approvals | Duct testing, cabinets, exterior finish | Trades and general contractor |
Use this as a planning framework, not a promised completion calendar. Permit review, lot preparation and weather change the route. Ask your builder to turn each phase into a project-specific duration before agreeing to a move-in date.
Identify the decisions that release work
Start by confirming the lot and orientation before developing the design. Approve roof form and porch depth before structural engineering, then settle the enclosure assemblies before framing details are issued. Fund the contingency before soliciting bids so the contractor isn't pricing a project that already exceeds your available money.
Permit approval releases site work, but foundation construction also needs resolved soils, elevations and utility penetrations. Atlanta Concrete Solutions' overview of concrete foundations for homes is a useful starting point for discussing foundation scope with your local contractor. Your engineer still determines the appropriate system for the parcel.
Framing establishes openings and roof geometry. Dry-in protects the interior sufficiently for subsequent work, while rough mechanical inspections release insulation and wall closure. Finish work should follow approved selections, not shopping decisions made while installers wait.
Scheduling rule: Don't release windows or cabinets simply because a supplier offers a discount. Confirm approved dimensions, delivery timing and the installation sequence first.
Deep porches, vaulted ceilings and intersecting roofs introduce additional framing connections and weatherproofing details. Give those tasks explicit space in the schedule rather than hiding them under a general framing allowance.
Count backward from your desired move-in date, add a visible buffer based on actual permit and supplier guidance, and identify shared crews. A roofer or concrete contractor can't serve overlapping phases just because both appear on the calendar.
Pick the Lot and Test It Against Local Climate Risk
The lot decides the design. Its orientation, slope, exposure and legal building area determine where the house, porch and driveway can reasonably go. Choosing a plan first and forcing it onto an unsuitable parcel is an expensive way to discover those limits.
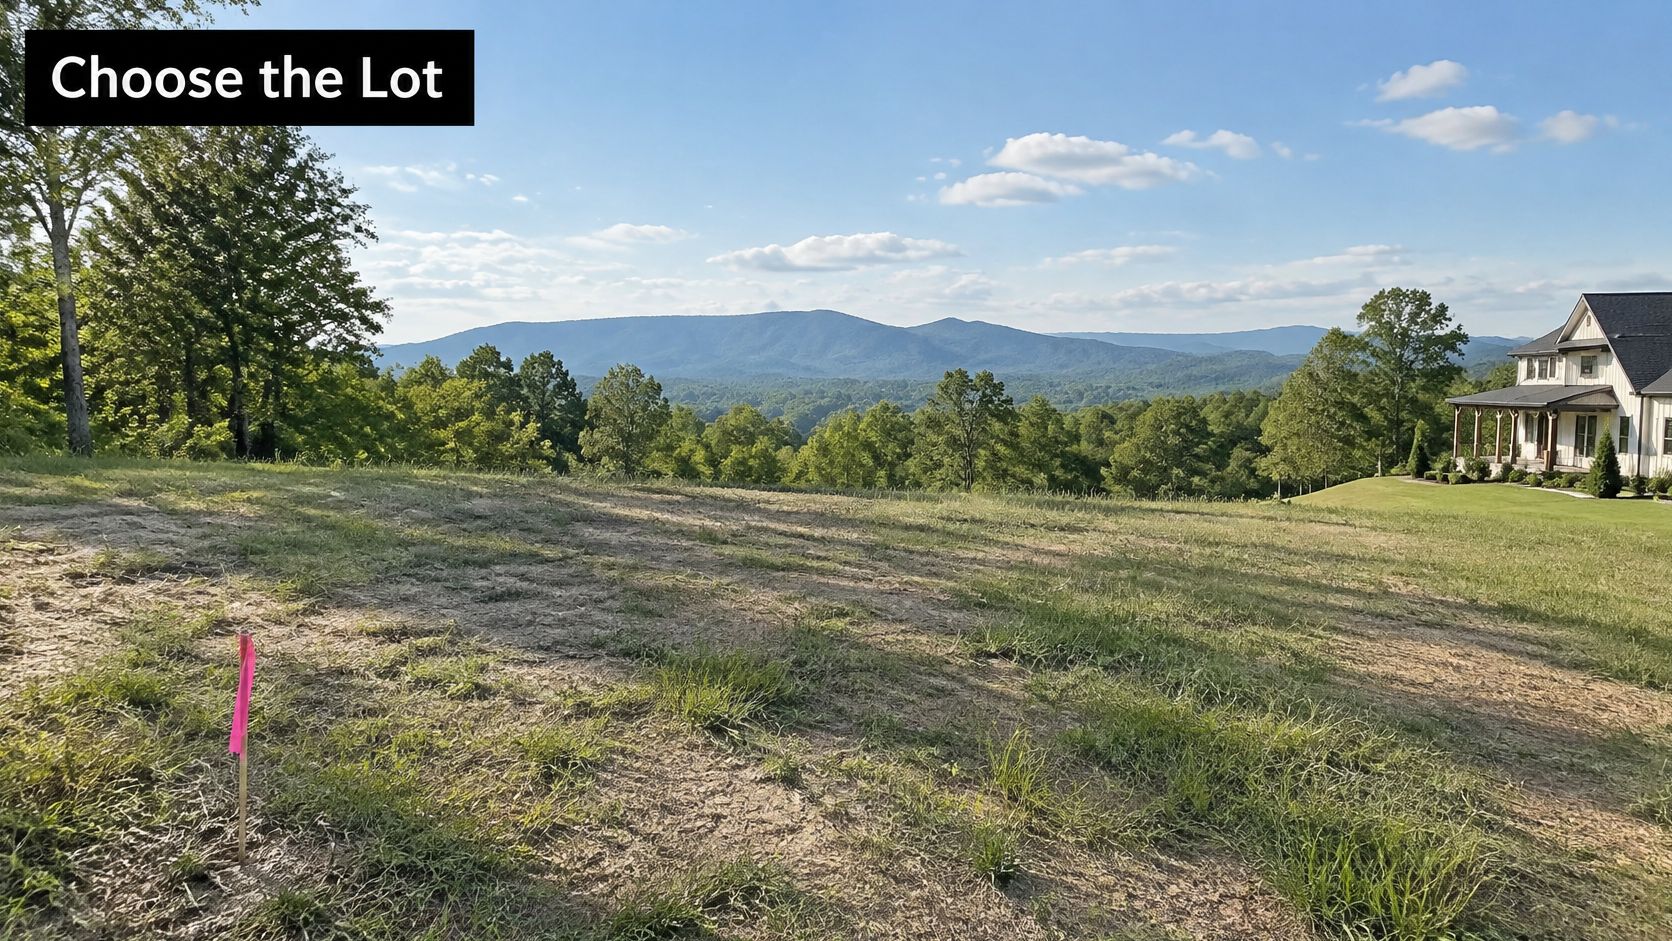
Check setbacks, height limits, easements, utility distances and septic or sewer access. Obtain a survey and appropriate soil evaluation, then examine parcel-level flood and wildfire information. Walk the site with the proposed finished-floor elevation in mind, not just the view from the future kitchen.
The James Hardie Modern Homes Forecast 2025 identifies resilient, energy-efficient construction as a major design theme. For an owner, the useful response is to specify against actual hazards rather than buy a generic package of green features.
Local hazards and the farmhouse feature each one changes
Hazard | Specification to check | Farmhouse feature affected |
|---|---|---|
Hurricane | Engineered wind-uplift connections and overhang design | Long gable roofs and deep porches |
Wildfire | Ember-resistant vents, glazing exposure and defensible space | Wood porch decking and large window openings |
Flood | Required elevation, foundation suitability and drainage path | Slab or crawl space height and porch floor level |
Hail | Tested roof assembly and impact resistance | Standing-seam roofing and exposed roof planes |
Freeze-thaw | Drainage and flashing at roof and porch intersections | Valleys and porch roofs where water can collect |
Extreme heat | Solar-gain control, shading and window thermal performance | Oversized black-framed windows and vaulted spaces |
Test the signature features
A long gable roof can retain the farmhouse silhouette while offering straightforward drainage. Its orientation still matters for solar exposure, prevailing weather and future equipment placement. A deep porch may provide useful shade, but it can also darken adjacent rooms or require more demanding wind connections.
Large windows need elevation-specific decisions. In hot climates, solar heat gain coefficient and exterior shading deserve particular attention; U-factor addresses heat transfer but doesn't replace solar control.
Use a drainage and grading plan to trace water from the roof to a lawful discharge location. Don't assume a neighboring low area is somewhere you can send runoff.
Before buying, answer these questions:
Hazards: Which mapped risks affect this parcel?
Buildable area: What remains after setbacks, easements and height restrictions?
Utilities: Where are connection points, and what routes are feasible?
Ground conditions: What do the soils and drainage path require?
Architectural fit: Which desired features need additional engineering?
Local code officials and the project engineer determine final specifications. A farmhouse identity doesn't require copying details that are wrong for the site.
Lock Design and Floor Plan Decisions Early
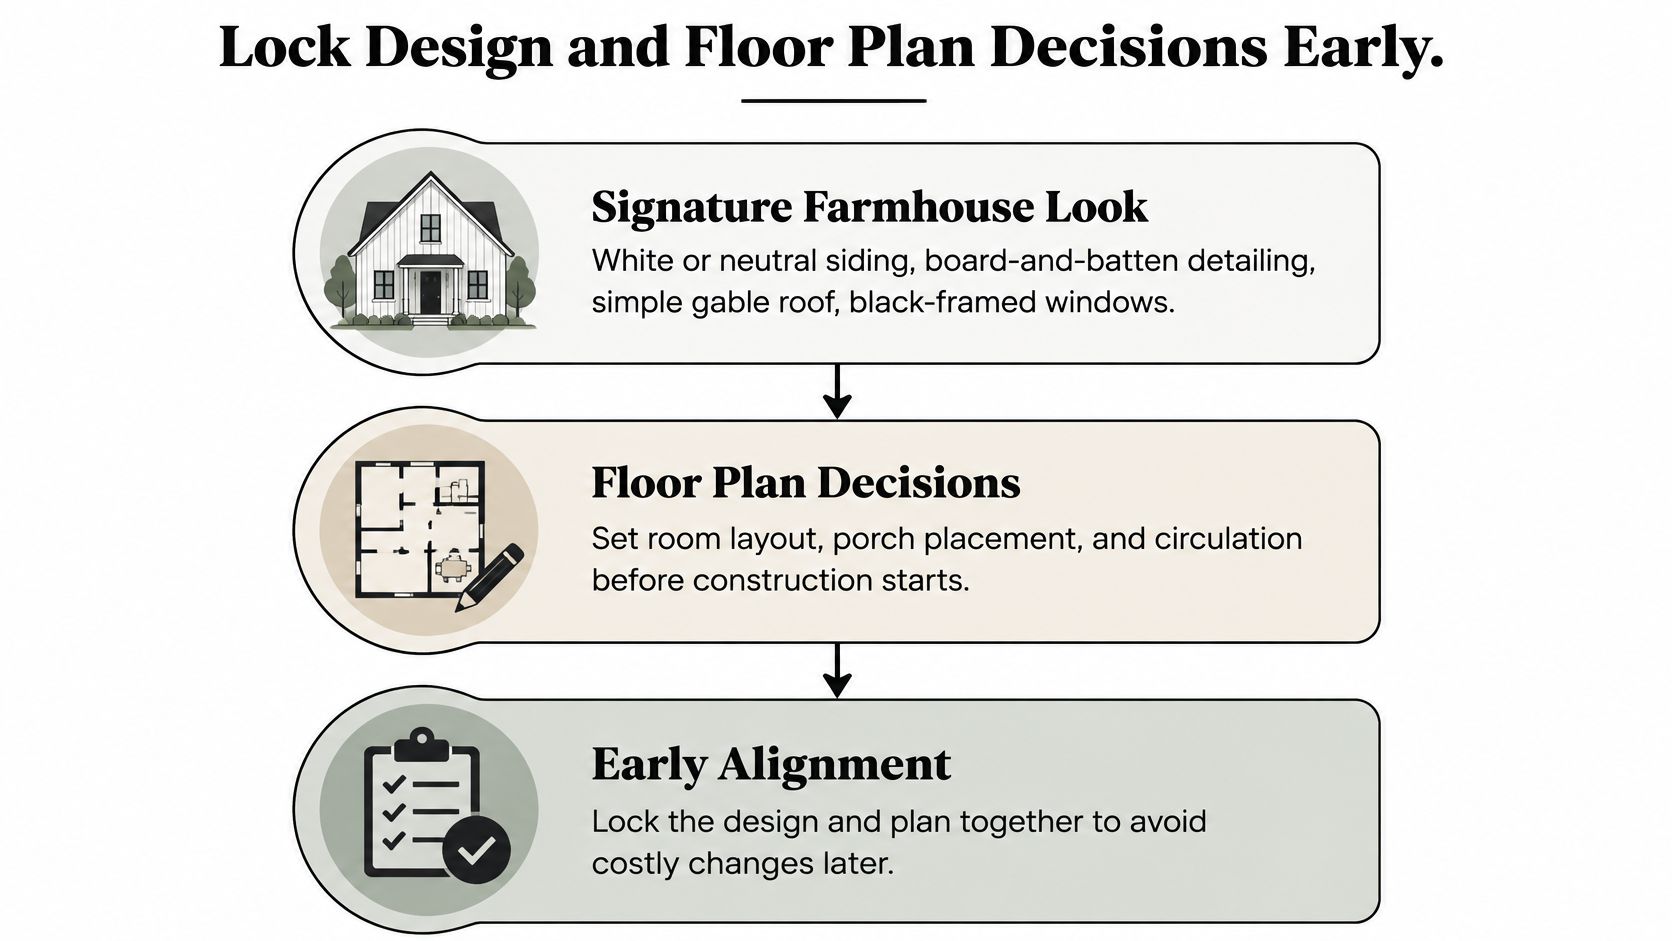
The recognizable palette includes white or neutral siding, board-and-batten detailing, simple gables, black-framed windows and natural materials. Inside, the appeal comes from connected, light-filled rooms. The exterior can suggest the style, but the room arrangement determines whether the house works on an ordinary weekday.
Separate decisions that affect construction from decisions that affect appearance. Roof pitch, porch depth, opening locations and ceiling heights belong in the first group. Paint colors, cabinet hardware and decorative fixtures generally belong in the second, although fixture locations and rough-ins still need early coordination.
Fix the layout around daily movement
Connect the kitchen, dining and living areas without making the kitchen aisle the main route through the house. Draw furniture on the plan, including dining chairs pulled out and doors fully open. An open room isn't efficient if everyone must cross the cooking zone to reach the backyard.
Place a mudroom or drop zone at the entrance the household will use. Give it storage for coats, bags and cleaning equipment rather than treating it as a decorative bench recess. Keep the primary suite away from television noise and heavily used circulation.
Use household scenarios rather than a bedroom formula:
A couple planning occasional guests: Compare a guest bedroom with an office that can close off and accommodate sleeping.
A family needing separate bedrooms: Count permanent sleeping rooms first, then decide whether an office must be additional space.
Multigenerational living: Prioritize an accessible sleeping area and bathroom relationship, not just total room count.
Bathroom demand follows simultaneous use. A convenient guest powder room doesn't replace a properly located bathing bathroom for a downstairs bedroom.
A vaulted great room also needs a defined route for supply air, return air and ceiling fixtures. Don't approve the section drawing until the designer can show how those systems fit.
Keep decorative choices adaptable
In the American Institute of Architects' 2024 Home Design Trends Survey, modern farmhouse recorded a net demand score below zero, meaning more architects reported declining than increasing demand, according to Homes.com's coverage.
That doesn't mean you should abandon a house you like. It means you shouldn't sacrifice circulation, daylight or room flexibility to reproduce a highly themed image.
A good plan should still make sense after you change the siding color, remove the barn-door hardware or choose a contemporary kitchen.
Approve exterior proportions and interior function together. Then ask whether the plan would still work if you changed its decorative style later.
Choose Materials and Seal the Building Envelope
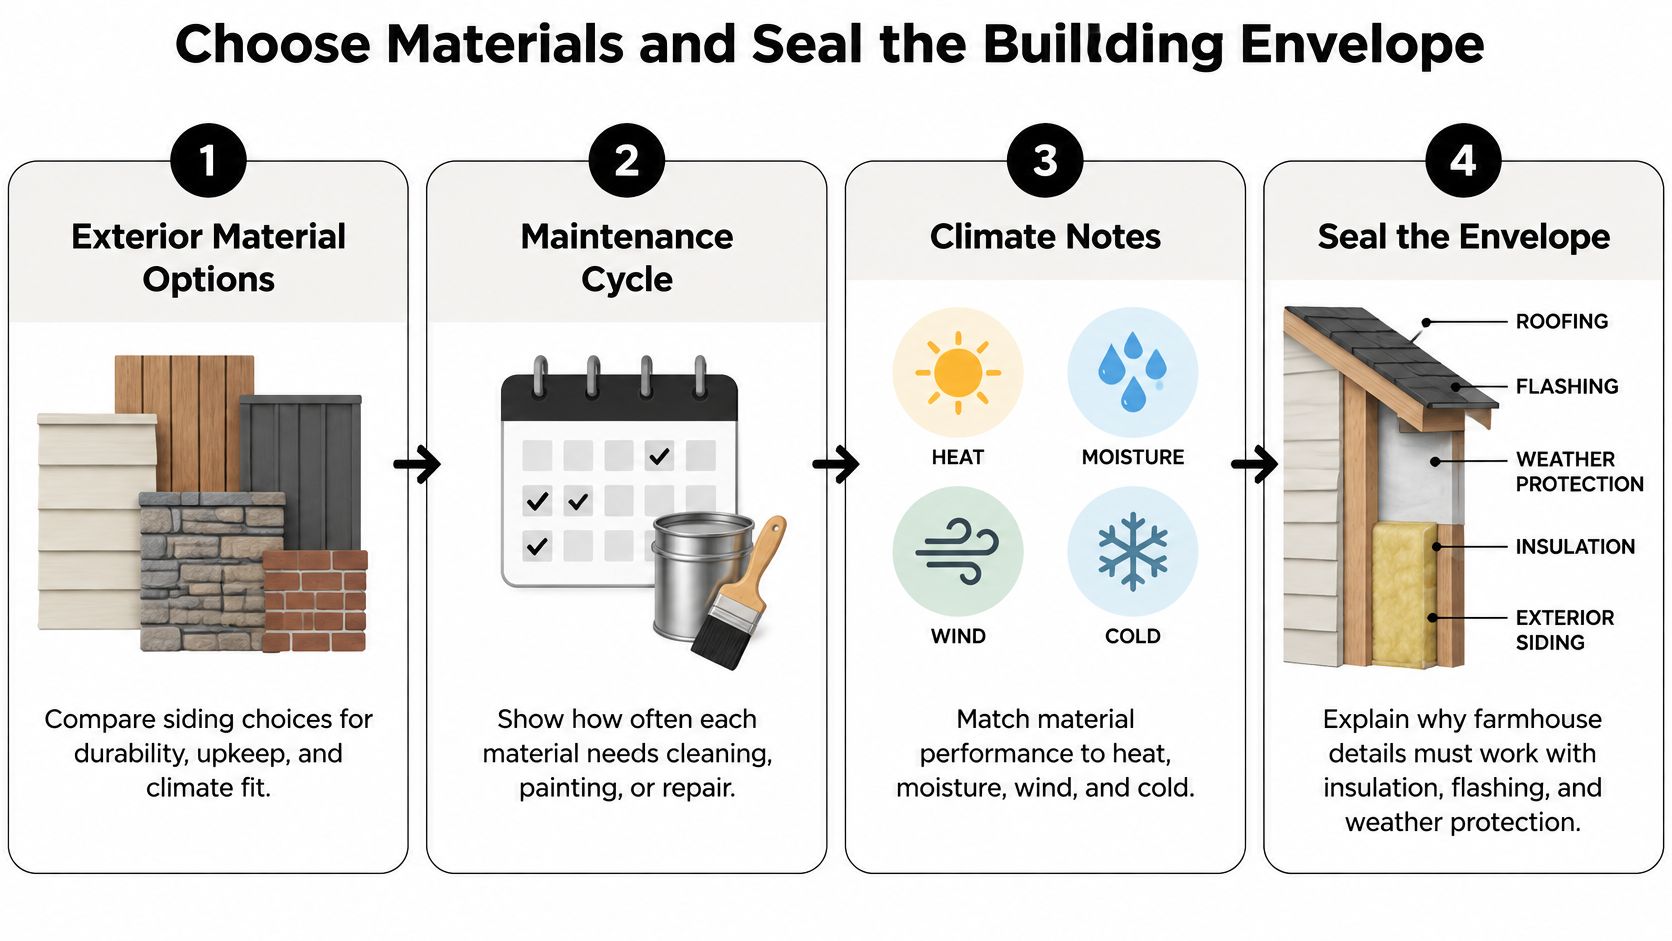
A farmhouse exterior can look finished while the enclosure behind it remains vulnerable to water and air leaks. Choose materials as parts of an assembly, and settle the transitions between them before construction. Cladding sheds much of the weather; the drainage plane, flashing and air barrier must manage what passes the surface.
Exterior materials, maintenance and climate notes
Element | Typical choice | Maintenance | Climate note |
|---|---|---|---|
Board-and-batten siding | Fiber cement or engineered wood | Clean, inspect joints and renew coatings according to product condition and manufacturer guidance | Detail clearances, cut edges and drainage carefully in wet regions |
Standing-seam roof | Steel or aluminum panels | Inspect seams, flashings, penetrations and exposed fasteners where present | Verify the assembly's wind and hail suitability; address ice-dam conditions |
Black-framed windows | Aluminum-clad wood or vinyl | Keep drainage paths clear and inspect seals and finishes | Select U-factor and solar-gain performance for the exposure |
Porch decking | Pressure-treated wood or composite | Maintain wood coatings; clean composite and follow product instructions | Provide drainage, ventilation and suitable fire performance where needed |
Similar-looking materials can require different details. Engineered wood and fiber cement have distinct fastening, edge-treatment and clearance requirements. A standing-seam metal roof is not automatically impact-proof or wind-resistant; confirm that the specified assembly suits the site.
Draw the enclosure before crews build it
During schematic design, trace the air barrier and thermal boundary through the roof, vaulted ceilings, porch connections, window openings and garage interface. If those lines break in a section drawing, crews may have to improvise the transition on site.
Bring framing, HVAC, insulation, air-sealing and verification trades together early. Record each trade's responsibilities in the construction documents, and make the coordination meeting a scheduled deliverable.
Give porch roof intersections, knee walls and attic transitions enlarged details. These junctions can hide breaks in the enclosure behind otherwise clean exterior lines.
Use an inspection sequence that leaves defects accessible
Install the primary air barrier. Specify the material and how it connects to adjoining surfaces. Housewrap, sheathing and interior membranes are not interchangeable without a designed assembly.
Seal transitions and penetrations. Detail foundation-to-framing joints, top plates, openings and service penetrations. If each trade seals only its own work, gaps can remain where assemblies meet.
Install insulation without voids or compression. Inspect narrow cavities, spaces behind tubs and areas around structural members before they are covered. Extra insulation elsewhere cannot make up for a missed cavity.
Pressure-test before drywall. Use a blower door to find leaks while the relevant surfaces are accessible. Set the test target and assign responsibility for corrections before work begins.
Hold point: Keep walls open until the enclosure inspection is complete and required corrections are done, even if the drywall crew is ready.
Set insulation levels and window specifications to meet the adopted code and climate zone. Plan drainage and drying paths as part of the assembly; sealant alone cannot compensate for missing flashing or a blocked drainage plane.
Budget the Build and Control Hidden Costs
A price per square foot is a comparison shortcut, not a complete budget. Regional labor, grading, utility connections, septic systems, insurance and structural requirements can change the total without changing the floor area.
Budget lines and where overruns start
Budget line | What drives cost | Where overruns start |
|---|---|---|
Site work and utilities | Grading, septic or sewer, utility distance, drainage | Unexpected rock, unsuitable soil or longer utility runs |
Foundation | Slab, crawl space or basement; soil conditions | Deeper footings or engineered fill |
Framing and roof | Roof complexity, intersections, vaulted spaces | Valleys and porch connections added after bids |
Windows and doors | Size, grid pattern, performance | Custom dimensions and oversized glass |
Mechanicals | Equipment, duct layout, ventilation | Unplanned routing or late resizing |
Exterior finishes | Siding, trim, roofing, decking | Material upgrades after signing |
Interior finishes | Kitchen, baths, flooring, fixtures | Allowances below actual selections |
Soft costs and permits | Design, engineering, reviews and fees | Revisions and additional submissions |
Contingency | Reserve for unresolved conditions | Spending the reserve on upgrades |
Use a detailed construction cost breakdown to distinguish the building contract from the full project cost. Confirm who pays for surveys, testing, temporary services, connection fees and financing-related requirements.
Simplify in the right order
The median new single-family home completed in 2025 measured 2,142 square feet, and nearly two-thirds of new detached homes were built on lots smaller than one-fifth of an acre, according to Realtor.com's analysis. A compact farmhouse deserves a purpose-built layout, not a large rural plan squeezed between setbacks.
I would protect façade proportions and a useful entry before spending on additional gables. Simplify roof intersections first, then reduce conditioned circulation that doesn't serve a room. Size the porch around furniture and movement rather than making it deep everywhere.
Standardize window dimensions where the elevation allows it. Finally, give flexible rooms appropriate doors, storage and bathroom access so they can support changing household needs.
Contingency is committed project money, not whatever remains after selections. Have the builder and lender establish a funded reserve around identified uncertainties, especially ground conditions and incomplete scope. Keep it separate from discretionary upgrades.
Make bids comparable
Send every bidder the same drawings, specifications and selection schedule. Require allowances to identify both the product budget and installation assumptions. A low cabinet allowance can make a bid look competitive while leaving the owner with an unavoidable increase.
Ask how long the price remains valid and what happens if materials change before purchase. Escalation terms should define the affected items, documentation and approval process. Don't accept an open-ended clause that transfers every pricing risk without giving you visibility or control.
Permits, Mechanicals and Contractor Coordination
Contact the building department before finalizing the drawings. Request its current submission checklist, review expectations and inspection stages. The package may include a site plan, structural drawings, energy-compliance documents and septic or utility approvals.
A practical guide to the building permit process can help organize the paperwork, but the local department determines what your project requires. Ask which approvals must arrive before the building application can proceed.
Resolve mechanical design before rough-in
Calculate heating and cooling room by room using Manual J after the enclosure assumptions are fixed. Floor area alone doesn't account for orientation, glazing, shading or ceiling geometry. Reserve space for equipment, service access and distribution before framing makes those routes difficult.
Keep ducts and air handlers inside conditioned space wherever feasible. ENERGY STAR building-science guidance reports that exterior duct leakage can raise heating and cooling energy use by roughly 10–20%. Avoiding an exposed attic route is a design decision, not something the installer can always solve later.
A tight house also needs controlled ventilation. Select the ventilation approach for the climate and adopted requirements, including whether an HRV or ERV is appropriate. Good enclosure test results don't establish acceptable indoor humidity or fresh-air delivery.
Use this mechanical acceptance sequence:
Inspect duct joints before insulation or drywall hides them.
Pressure-test the ducts and document repairs.
Measure room airflow against the design.
Check gasketed filter access and equipment service clearances.
Measure indoor humidity after occupancy and record corrective actions.
For electrical scope, include dedicated equipment circuits and anticipated loads in the drawings. On Time Home Services' explanation of permits required for adding electrical circuits provides useful context for understanding why later circuit changes need approval; confirm the requirements for your new build locally.
Put coordination duties in the contract
Name a single person responsible for resolving conflicts among drawings, trades and inspections. Tie payments to clearly defined progress milestones, with required inspections accounted for. Don't let a payment schedule substitute for verification that the work is complete.
Require written change orders before altered work proceeds. Each should state the price, schedule effect and any related design changes. Keep a regular project log recording decisions, delivery issues, inspections and open items.
Before signing, ask:
Permits: Who submits applications and closes them out?
Testing: Who arranges enclosure and duct testing, and pays for corrections?
Allowances: How are actual costs documented and reconciled?
Weather: How are delays recorded and the schedule updated?
Confirm Your Plan Before You Sign a Contract
A construction contract shouldn't leave the site strategy, enclosure scope or approval route unresolved. Those aren't details you can safely settle once crews arrive. They define what the builder is agreeing to deliver.
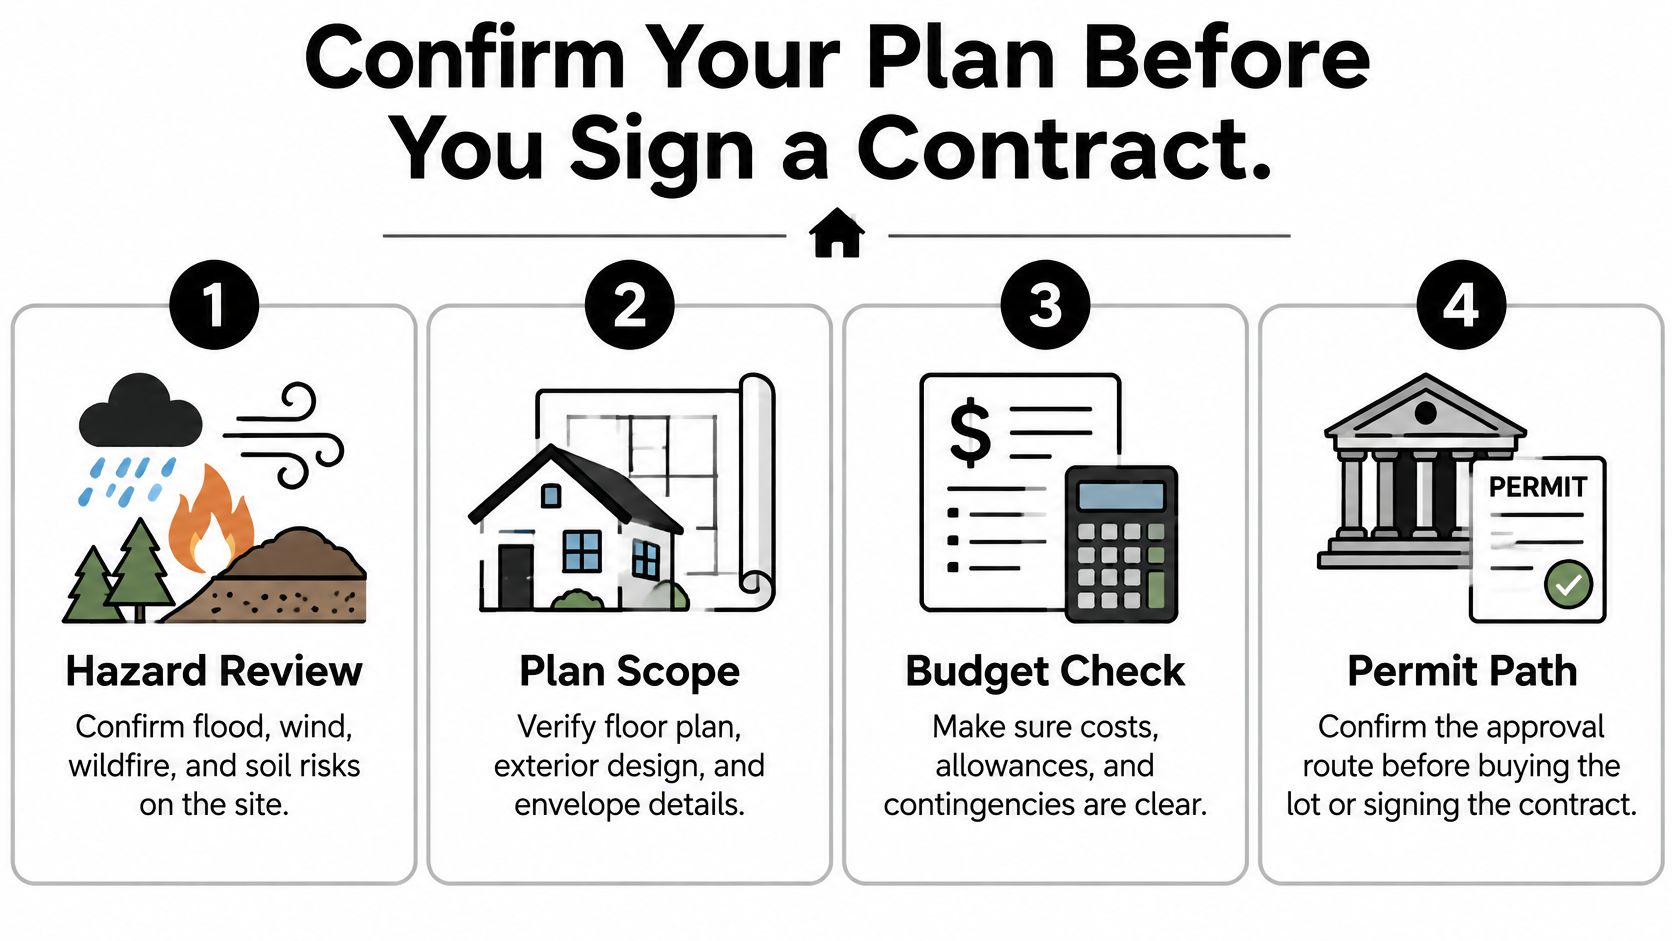
Check the commitment package
Parcel review: Hazard information, soils and drainage have been evaluated.
Plan fit: The house, garage and access fit the buildable area.
Performance scope: Enclosure and HVAC responsibilities are written into the contract.
Budget: Allowances are realistic and the contingency is funded.
Approvals: The permit route and current review expectations are confirmed.
Builder suitability: References include comparable farmhouse projects.
Shortlist designs by bedroom count, floor area, foundation type and garage placement. Compare each candidate against the actual lot's orientation, hazards and utility routes before purchasing.
We tailor our small farmhouse plans to the climate, lifestyle and regulations of Georgia, North Carolina, South Carolina, Virginia, Maryland and New Jersey. Before committing, ask the plan designer: How will this design be adapted to my local energy code, climate zone and hazard requirements, and who will seal the structural and energy documents?
RBA Home Plans offers architectural plans and modification guidance to help you connect the farmhouse look with a buildable, site-appropriate design. Visit RBA Home Plans to shortlist layouts by bedrooms, bathrooms, stories and square footage, then bring your parcel information and planning checklist to the design discussion.


Comments